
Create a project
Set up a new study or registry.
Role required: Project Creation (the creator automatically receives Project Management on the new project)
Steps
- Sign in at https://my.studytrax.com.
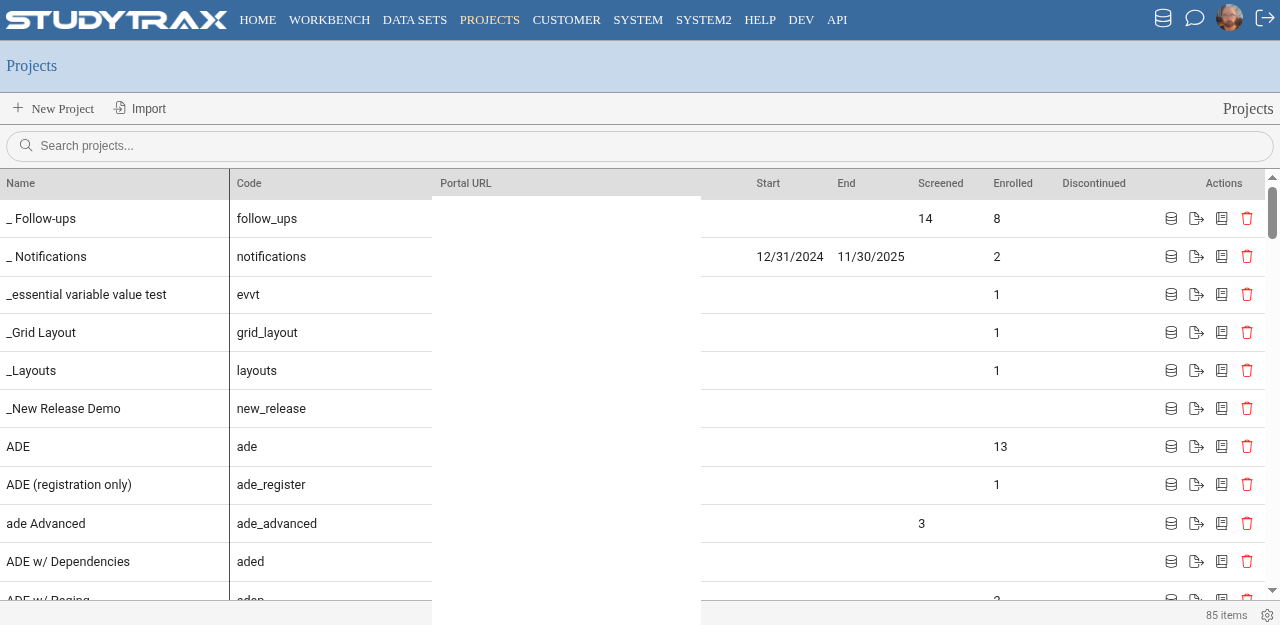
- Go to Projects → New (confirm in app).
- Complete each section:
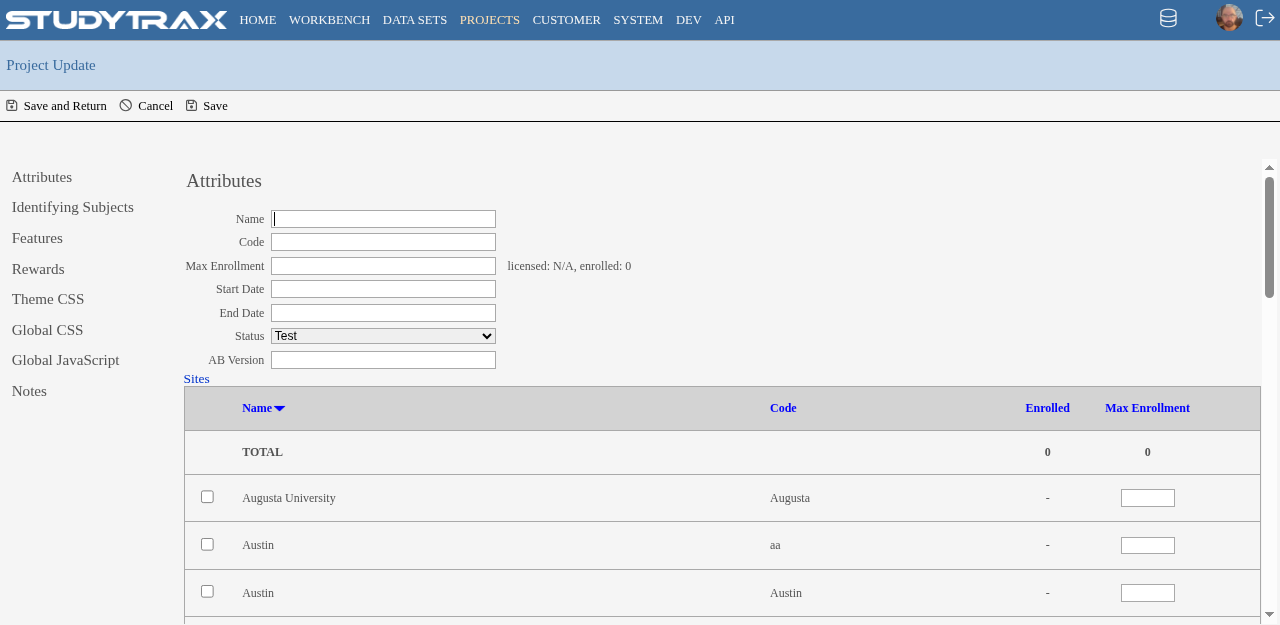
Attributes
Basic project settings: name, description, status.
Custom Attributes
Additional metadata fields if your organization uses them.
Identifying Subjects
Configure which identifiers are required or visible:
- Reference ID (always required)
- Project ID (optional)
- Name fields (optional)
Features
Project capabilities (as of 2026-04-08; confirm in app):
| Feature | Description |
|---|---|
| Change Reason | Require a reason when editing data |
| Show Screening and Enrollment Date | Display these dates on subject records |
| Randomization | Enable treatment randomization |
| Screening | Enable a screening phase before enrollment |
| Enable Subject Portals | Let subjects use the same login page as staff (available after v3.73) |
Important: Randomization and Screening cannot be changed after subjects are enrolled.
- Save the project.
After creating the project
- Variable Groups — create or attach forms
- Intervals — define the visit schedule
- Report Templates — set up per-subject reports
- Users — grant staff access and roles